
Understanding Floor Sanding
Sanding your floors can bring them back to life, making them look fresh and smooth again. But if you’re not used to it, the process can seem pretty intimidating. The good news? It doesn’t have to be. Here’s a breakdown of the easiest way to sand floors without all the stress.
Common Floor Sanding Challenges
- Uneven Surfaces: Floors can have dips, bumps, or areas that aren’t level, which makes sanding tricky.
- Old Finish: Removing layers of old varnish or paint can be tough without the right equipment.
- Dust Everywhere: Sanding creates a lot of dust, and if you don’t manage it well, it can get everywhere.
- Tool Misuse: Using the wrong tool or technique can damage the floor or lead to uneven results.
Steps for Sanding Floors
1. Get the Right Tools
Before you start sanding, you need the right tools to make the process as easy as possible. Here’s what you’ll need:
- Drum Sander: This is your main tool. It’s powerful and makes sanding large areas quick and easy.
- Edge Sander: For those corners and edges where the drum sander can’t reach.
- Vacuum: You’ll need a good vacuum to clean up dust between sanding passes.
- Protective Gear: Sanding can be dusty and loud, so goggles, ear protection, and a dust mask are must-haves.
2. Preparing the Floor
Before you even touch that sander, some prep work is needed to make the process smooth.
- Clear the Room: Remove all furniture, rugs, and anything else on the floor.
- Fix Loose Nails or Boards: Make sure there are no nails sticking up or boards that need fixing. This will prevent damage to the sander.
- Clean the Floor: Sweep and vacuum the floor to remove dirt and debris that can interfere with sanding.
3. Sanding the Floor
Now for the fun part: sanding. If you want to keep it simple, follow these easy steps.
Using the Drum Sander
- Start with Coarse Sandpaper: Attach a coarse grit (around 36 grit) to the drum sander. This will remove the old finish and level out uneven areas.
- Move in Straight Lines: Start sanding along the grain of the wood, working in straight, even passes. Don’t rush, but don’t linger too long in one spot either to avoid gouging the floor.
- Switch to Finer Grits: After your first pass, switch to finer grit sandpaper (like 60 or 80 grit) to smooth out the surface. Do this in stages until you reach 100-120 grit for a smooth finish.
Using the Edge Sander
- Get the Corners: The drum sander won’t reach the edges or corners, so you’ll need to use the edge sander for these areas.
- Be Gentle: Use the edge sander carefully to avoid scratching or gouging the edges. Keep it moving in smooth motions.
4. Cleaning Between Passes
After each sanding pass, it’s important to clean the floor to remove dust.
- Vacuum the Floor: After every pass, vacuum the entire floor to remove all dust and debris. This prevents dust from getting trapped under the next layer of sandpaper.
- Tack Cloth or Damp Mop: Use a tack cloth or damp mop to pick up any remaining dust particles.
5. Final Touches
After the sanding is done, your floor should be smooth and ready for a new finish. But before that:
Smoothing the Edges
- Hand Sand Corners: For those hard-to-reach spots, use sandpaper by hand to smooth out any rough patches.
- Final Clean: Give the floor one last thorough vacuum and clean before applying any finishes.
Preventative Maintenance Tips
Now that your floors are beautifully sanded, you’ll want to keep them looking fresh.
Scheduled Cleaning
- Regular Sweeping: Sweep your floors regularly to keep dirt and dust from accumulating.
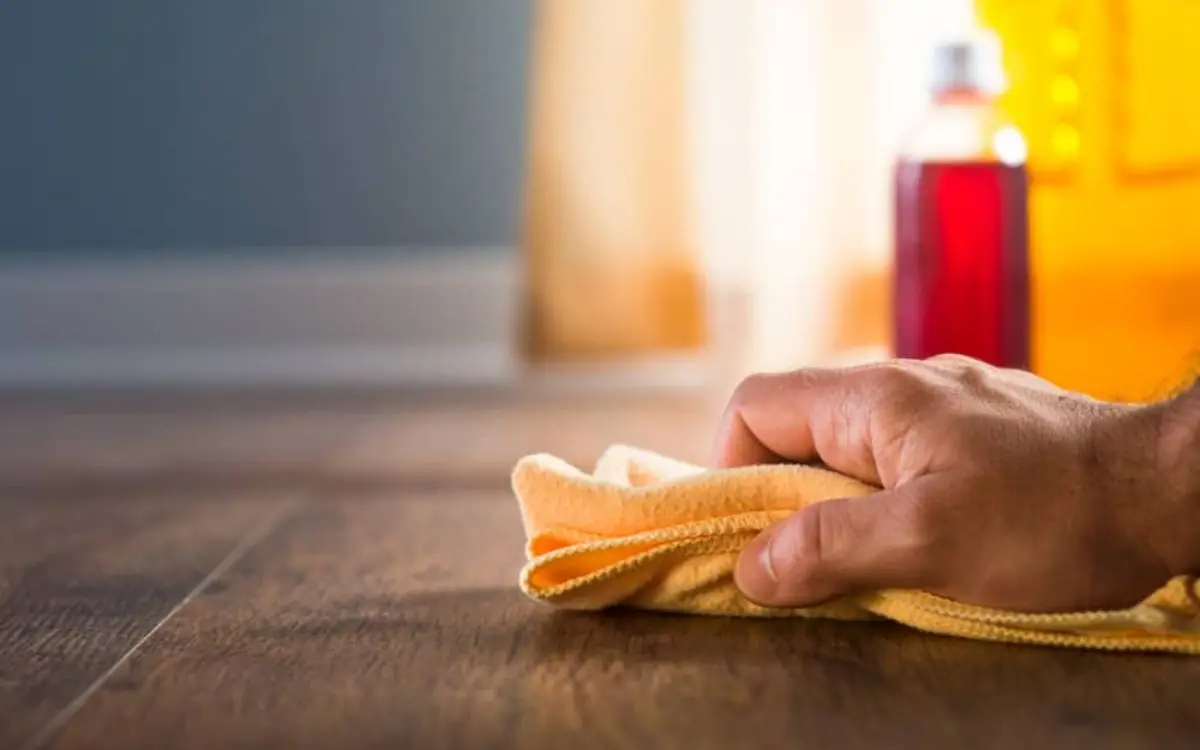
- Use a Damp Mop: For more thorough cleaning, use a damp mop with a wood-safe cleaner to avoid damaging the finish.
Prevent Scratches and Damage
- Felt Pads for Furniture: Add felt pads to furniture legs to avoid scratching your newly sanded floors.
- Use Rugs in High-Traffic Areas: Place rugs or mats in areas with a lot of foot traffic to prevent wear.
Professional Maintenance
- Call a Pro: If your floor needs more than a touch-up or you’re dealing with deeper scratches, consider hiring a professional to help with more extensive work.
- Stay Informed: Keep learning about wood floor care to extend the life of your newly sanded floors.


