Importance of Proper Tile Installation
Proper tile installation is crucial for achieving a durable, visually appealing finish. A well-installed tile floor or wall enhances the overall look of a space, prevents costly repairs, and ensures long-term durability. Key to success is following a structured approach, starting from preparation to the final sealing.
Gathering the Right Tools and Materials
Before starting, ensure you have the necessary tools and materials:
Essential Tools
- Tile cutter or wet saw
- Notched trowel for adhesive
- Grout float
- Tile spacers
- Rubber mallet
- Measuring tape and level
Materials Checklist
- Tiles (floor or wall-specific)
- Tile adhesive
- Grout
- Sealant
Inspecting and Preparing the Subfloor
A strong foundation is essential for tile installation.
Checking the Subfloor
- Inspect for cracks or uneven surfaces.
- Use a level to check for flatness.
Preparing the Subfloor
- Clean thoroughly to remove dust and debris.
- Fill cracks and smooth uneven areas with a leveling compound.
Planning the Tile Layout
A well-thought-out layout minimizes cuts and creates a professional appearance.
Measuring and Marking
- Measure the area and mark a central starting point.
- Use chalk lines to create guidelines.
Dry-Laying Tiles
- Lay tiles without adhesive to ensure alignment.
- Adjust the layout to minimize small cuts along edges.
Choosing and Applying Tile Adhesive
Selecting the right adhesive is key to a secure bond.
Types of Adhesive
- Thin-set mortar for most floors and walls.
- Mastic for lightweight wall tiles.
Application Tips
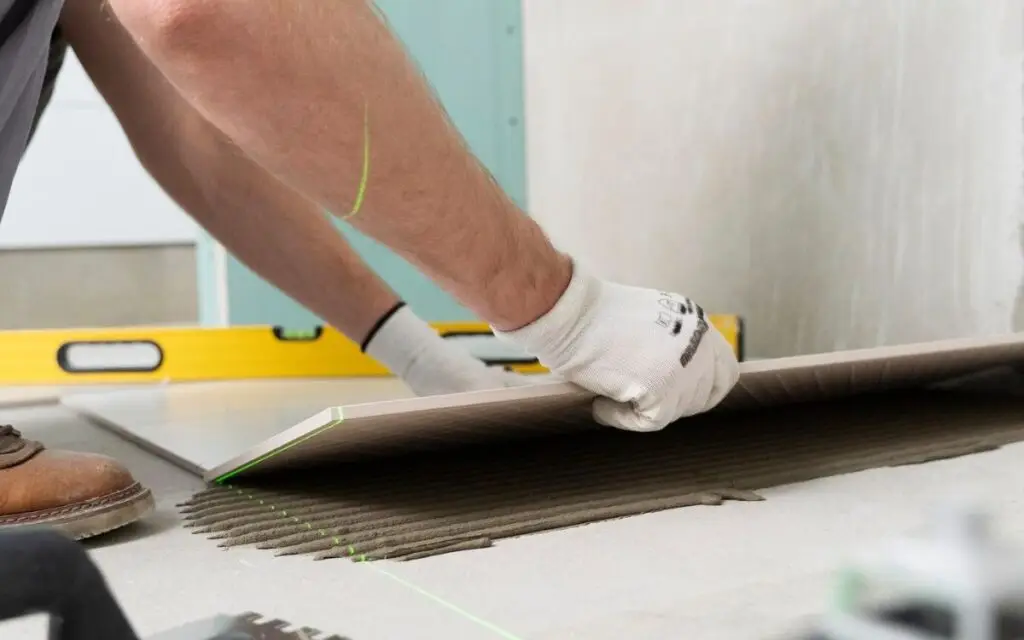
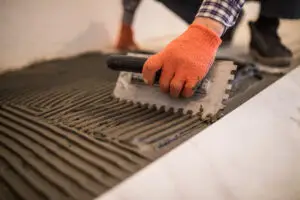
- Use a notched trowel to spread adhesive evenly.
- Work in small sections to prevent drying before placement.
Placing and Spacing Tiles Correctly
Precise placement ensures uniformity and a polished look.
Using Tile Spacers
- Insert spacers between tiles to maintain even gaps.
- Regularly check alignment with a level.
Placement Technique
- Gently press tiles into adhesive.
- Use a rubber mallet for adjustments.
Cutting Tiles for Edges and Corners
Cutting tiles accurately is vital for fitting around edges, outlets, and corners.
Measuring for Cuts
- Measure and mark tiles using a pencil.
- Double-check measurements to avoid errors.
Cutting Methods
- Use a manual tile cutter for straight cuts.
- Opt for a wet saw for curved or intricate cuts.
Applying Grout and Cleaning Excess
Grout fills gaps and adds strength to the tile installation.
Mixing and Applying Grout
- Mix grout to a paste-like consistency.
- Apply with a grout float, pressing firmly into gaps.
Cleaning Excess Grout
- Wipe tiles with a damp sponge after grouting.
- Allow grout to set before a final clean.
Sealing Tiles and Grout
Sealing protects tiles and grout from moisture and stains.
Why Seal Tiles?
- Enhances durability and resistance to wear.
- Maintains the color and integrity of grout.
Sealing Process
- Apply sealant with a brush or spray.
- Allow proper drying time as per product instructions.
Common Tile Installation Mistakes to Avoid
Avoid these pitfalls for a flawless finish:
- Skipping subfloor preparation: Leads to cracked tiles.
- Using the wrong adhesive: Results in poor adhesion.
- Improper tile spacing: Causes uneven gaps and alignment issues.
DIY vs Professional Tile Installation
While DIY tile installation can save money, it comes with risks:
Risks of DIY Errors
- Uneven tiles due to inadequate preparation.
- Misaligned layouts requiring costly rework.
Benefits of Hiring Professionals
- Expertise in subfloor preparation and layout design.
- Access to specialized tools for precision cuts and finishes.
Case Study:
A homeowner attempted DIY tile installation but faced alignment issues and adhesive failure. Hiring a professional resolved these problems and delivered a flawless finish in half the time.
Transform your space with expertly installed tiles. Contact a professional today to ensure a perfect, long-lasting result!
FAQs & Answers
You’ll need a tile cutter, spacers, adhesive spreader, grout float, and a level.
Use spacers and a level to maintain uniform gaps and alignment.
No, uneven surfaces can cause tiles to crack. Prepare the subfloor first.
Typically, 24-48 hours, depending on the adhesive type and conditions.
Sealing prevents moisture, stains, and damage, ensuring the longevity of your tiles.


