Understanding the Importance of Proper Tiling Sequence
Why Tiling Order Matters
Avoiding Damage and Mistakes
The sequence in which you install tiles is crucial to avoiding damage and mistakes. Starting with the wrong surface can lead to a messy job and a less-than-professional finish. For example, if you tile the floor first, you risk getting adhesive or grout on your new floor tiles when you start working on the walls. This can be difficult to clean and can damage the tiles, adding unnecessary costs. Professionals understand the proper sequence to prevent such issues.
Ensuring a Professional Finish
Following the correct tiling order also ensures a more professional and polished final result. When the walls are tiled first, the cut edges of the wall tiles can be concealed by the floor tiles. This creates a cleaner look and avoids unsightly edges. The result is a professional, seamless look that is difficult to achieve with an improper installation sequence. This attention to detail is one of the many things professionals are well trained for.
Common Tiling Mistakes
Tiling Out of Order
One of the most common tiling mistakes is starting with the wrong surface. Many DIYers tile the floor first, thinking it will be easier. However, this approach leads to a variety of problems and increases the chances of making costly mistakes. Proper planning and execution are crucial, and professionals are trained to start with the walls every time.
Poor Planning
Poor planning is another common mistake. This includes not measuring correctly, not dry-fitting the tiles, or not considering how the layout will look once complete. These issues can result in uneven grout lines, poorly cut tiles, and a less-than-professional result. Professional installers always take the time to properly plan out the entire project, and avoid these all-too-common issues.
The Correct Order: Walls Before Floors
Why Start with the Walls?
Preventing Mess on Finished Floors
The primary reason to start with the walls is to prevent messes on finished floors. When tiling walls, there’s always the potential for adhesive and grout to drip onto the floor. If the floor is already tiled, cleaning up this mess can be difficult and time-consuming. It also runs the risk of damaging the tiles or grout. Starting with the walls minimizes this risk, and reduces the overall cleanup after the job is complete.
Easier Alignment and Spacing
Tiling the walls first also makes it easier to align and space the floor tiles correctly. By having the wall tiles in place, you can measure and cut the floor tiles to fit seamlessly against them. This avoids gaps or overlaps that could detract from the overall look. This type of precise work requires skill, attention to detail, and proper planning, all of which are characteristics of a professional tile installer.
How to Tile Walls First
Preparing Wall Surfaces
Before starting any tiling project, ensure the wall surfaces are clean, dry, and level. Remove any old wallpaper, loose paint, or debris. If needed, apply a primer and waterproof membrane. Properly prepared surfaces are the first step in a high-quality and long-lasting project, which is why a professional tile installer will always prepare surfaces meticulously, and according to best practices.
Installing Wall Tiles
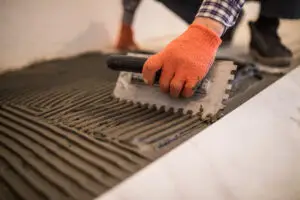
Start by applying adhesive to a small section of the wall using a notched trowel. Set the tiles in place, using tile spacers to ensure consistent grout lines. Cut tiles as needed to fit around corners, outlets, and other obstacles. Work methodically and double-check your alignment as you work. Professional installers utilize precise techniques to ensure each tile is set perfectly.
How to Transition to Floor Tiling
Protecting Wall Tiles
Once the wall tiles are in place, cover them with a protective layer to prevent damage during the floor tiling process. Use painter’s tape and plastic sheeting to protect the tiles and keep them clean. This is a simple but essential step to preserve the quality and beauty of your new walls. Professional installers will always take steps to protect completed work.
Preparing the Floor Surface
Before you begin tiling the floor, ensure the surface is properly prepared. Clean the floor thoroughly, and check to make sure it’s level. Make any necessary repairs or adjustments to ensure a smooth and level base for your new tiles. Properly prepared floors are the foundation for a high-quality tiling project.
Installing Floor Tiles
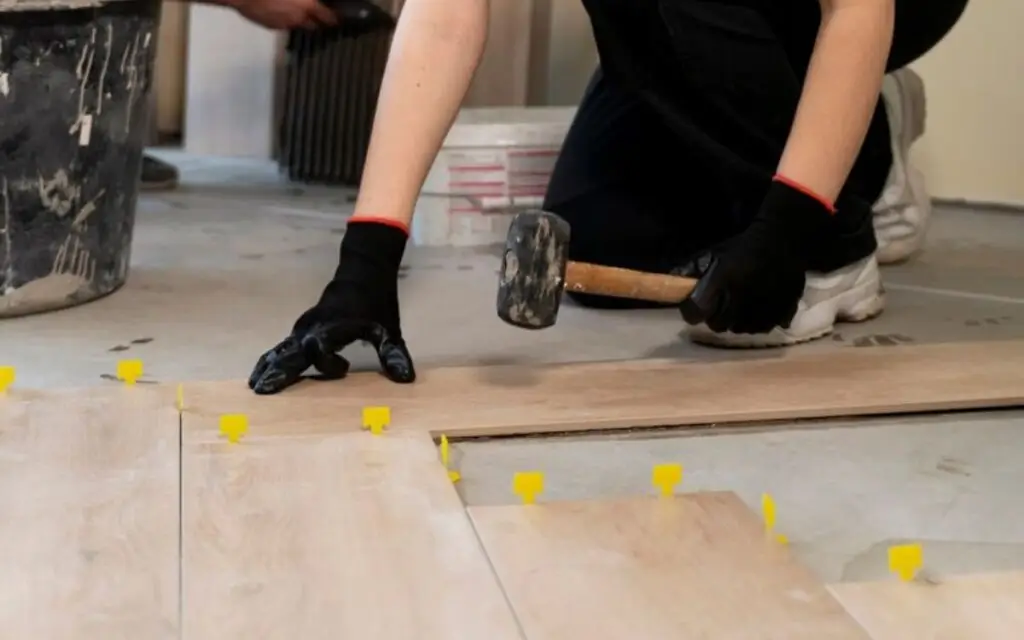
Begin by applying adhesive to a small section of the floor. Set the floor tiles in place, aligning them with the wall tiles, and ensuring there is no gapping. Use tile spacers to maintain consistent grout lines. Allow the tiles to fully dry before grouting. Professional tile installers pay close attention to these details to ensure the best results.
Exceptions to the Rule: When to Tile Floors First
Special Cases and Scenarios
Specific Tile Types
In some specific cases, such as when using very large or heavy floor tiles, it might be necessary to install the floor tiles first. In these scenarios, the floor tiles need to be installed before the wall tiles to support the weight. This is not the norm, however, and must be executed with expertise and precision.
Unique Design Considerations
In rare cases, the chosen design might require the floor tiles to be installed first, such as with a specific pattern or alignment between the walls and floor. However, this design choice should only be made by someone who is familiar with the tile installation process and knows how to do so without creating mistakes, or unnecessary headaches.
DIY vs. Professional Tile Installation: Order Matters
DIY Challenges with Tiling Order
Mistakes and Rework
DIYers often struggle with the correct tiling order and can make mistakes that require extensive rework. Tiling out of order can lead to additional cleaning, the need to repair damaged tiles, or even having to redo the project from scratch. These issues add time and costs to a project that could have been avoided with the knowledge of a professional.
Time and Frustration
DIY tiling projects can be time-consuming and frustrating, particularly when mistakes are made. Incorrect tiling order can lead to unnecessary cleanup, adjustments, and delays. Professional installers can get the job done quickly, efficiently, and without causing any unnecessary frustration.
Professional Tile Installation Advantages
Expertise in Proper Order
Professional tile installers are experienced in the proper order and techniques for tiling. They understand the importance of starting with the walls and follow best practices to ensure a smooth and high-quality finish. They use their expertise to provide flawless results every time, and prevent unnecessary headaches.
Efficient and High-Quality Results
Professional installers work efficiently, ensuring a quick and hassle-free tile installation. They are well trained, and use their skills to provide the best possible outcome, while minimizing mess and cleanup. They take pride in their work, and that pride shines through the end result.
Case Studies: Tiling Order Impact
Example of Floor Tiling First
A homeowner tiled their floor first, thinking it would be easier, however, during the wall tiling, adhesive dripped onto the new floor tiles, creating a sticky mess that proved difficult to clean. The homeowner had to invest additional time and effort into cleaning the floor and it still did not fully remove the stains. The situation could have been avoided by tiling the walls first, and hiring professional installers.
Example of Wall Tiling First
Another homeowner hired a professional tile installer. The installer followed best practices, starting with the walls, and creating a clean look that prevented unnecessary messes. The result was a perfectly installed tiling job with a beautiful and professional appearance.
FAQs & Answers
Yes, the order in which you tile is crucial for a professional and long-lasting result. Starting with the walls minimizes the chance of getting adhesive or grout on already finished floors, which can be very difficult to clean. Additionally, wall tiling is usually done before floor tiling so the cut edges of the wall tiles are concealed by the floor tiles, resulting in a cleaner and more seamless look. A professional installer knows this technique and it is one of many things they do to ensure high-quality and visually appealing results.
Tiling the floor before the walls can lead to several issues. First, it’s almost inevitable that you’ll get adhesive and grout on the floor while tiling the walls, which requires extensive cleaning and risks staining or damage. Secondly, it can make aligning the wall tiles correctly with the floor tiles more difficult and could require an extra cut at the base, leading to a less clean finish. Professional installers are trained to avoid these issues through strategic planning and use of the correct process.
While it’s uncommon, there are some specific cases where tiling the floor first might be preferred. For example, if you’re installing large, heavy floor tiles that extend under wall tiles, or if you're working with a particular design that requires the floor tiles to set first for proper alignment. However, these are not the norm and must be handled with extreme precision. A professional installer can evaluate the job site and determine the most efficient approach for the particular situation, which may include adjusting the order as necessary.
A professional tile installer understands the importance of following the correct tiling order. They always begin by assessing the project, planning the layout and considering all of the required steps to ensure a flawless result. They will then start by tiling the walls, leaving the floor work for later, they have the expertise to properly prepare each surface, and the proper tools and techniques that ensure the best outcome. They are careful, methodical, and knowledgeable in the proper sequence of the tiling process.
While it’s sometimes possible to fix mistakes made while tiling out of order or while attempting a DIY job, these fixes can be costly and time-consuming. Trying to remove dried adhesive or grout from finished tiles can be incredibly difficult, and any misalignments may require extensive rework. A professional installation prevents these problems from ever occurring, because professionals work methodically and according to best practices. If mistakes occur, professionals can quickly correct them.


