Can You Tile Over Tile? Essential Considerations
Tiling over existing tile can be a time-saving and cost-effective option, but it’s not suitable for every situation. Evaluating the condition of your current tiles and understanding the process are crucial steps before proceeding.
When Tiling Over Existing Tile is Possible
- The existing tiles are securely adhered without cracks or movement.
- The surface is level and free from moisture damage.
- The new tiles will not significantly raise the floor height, creating issues with doors or fixtures.
Factors to Evaluate Before Starting
- Inspect the subfloor beneath the existing tiles for stability.
- Consider whether the additional weight will exceed structural limits.
- Plan for proper surface preparation to ensure strong adhesion.
Pros and Cons of Tiling Over Tile
Benefits
- Saves Time and Effort: Avoids the labor-intensive process of removing existing tiles.
- Reduces Waste: Minimizes debris and disposal costs.
- Cost-Effective: Skips demolition-related expenses, saving money on tools and labor.
Drawbacks
- Potential for Uneven Surfaces: Imperfections in the existing tile can affect the final finish.
- Risk of Improper Adhesion: Without proper preparation, new tiles may not adhere securely.
- Increased Floor Height: Can create challenges with doors, transitions, and thresholds.
Preparing the Existing Tile Surface
Assessing the Condition of Existing Tiles
Inspect for Cracks or Loose Tiles
Check all tiles for damage or looseness. Any cracked or unstable tiles must be replaced or secured before proceeding.
Cleaning the Surface Thoroughly
Remove dirt, grease, and other debris. Use a degreasing solution or mild detergent for best results. Cleanliness is essential for strong adhesion.
Sanding and Scuffing for Adhesion
Scuff the surface with coarse sandpaper or a grinder to create texture. This step ensures the adhesive bonds effectively to the smooth tile surface.
Choosing the Right Adhesive
Types of Adhesive Suitable for Tiling Over Tile
Epoxy-Based Adhesives
Ideal for high-strength and high-moisture applications, such as bathrooms and kitchens.
Thinset Mortar Options
A versatile choice that provides strong bonding while accommodating minor surface imperfections.
Factors Affecting Adhesive Choice
- Type of Tile: Ceramic, porcelain, or natural stone.
- Location: Indoor vs. outdoor, high-moisture vs. dry areas.
- Surface Texture: Smooth or scuffed surfaces require specific adhesive properties.
Tile Layout Planning
Measuring and Marking the Layout
Take precise measurements to determine how many tiles you’ll need and where to make cuts. Plan the layout to minimize small, awkward pieces at the edges.
Importance of Symmetry and Alignment
A well-aligned layout enhances the appearance of the finished floor. Use a chalk line or laser guide to ensure precision.
Avoiding High Spots or Uneven Surfaces
High spots on the existing tile can cause unevenness. Address these with leveling compounds if necessary before tiling.
Grouting and Finishing Tips
Selecting Waterproof Grout
Choose a grout designed for durability and water resistance, especially in wet areas. Epoxy grout is a popular choice for its stain resistance and strength.
Ensuring a Clean, Seamless Finish
Clean excess grout from the tile surface promptly to prevent haze. Use a damp sponge for smooth, uniform joints.
Subfloor Preparation Alternatives
When to Remove Existing Tile Instead
If the tiles are significantly damaged, uneven, or poorly adhered, removal is the best option. A stable, clean subfloor is essential for successful tile installation.
Importance of a Stable Subfloor
A weak or unstable subfloor can lead to cracks or loosened tiles in the future. Reinforce or repair the subfloor before beginning your project.
Tools and Materials Needed
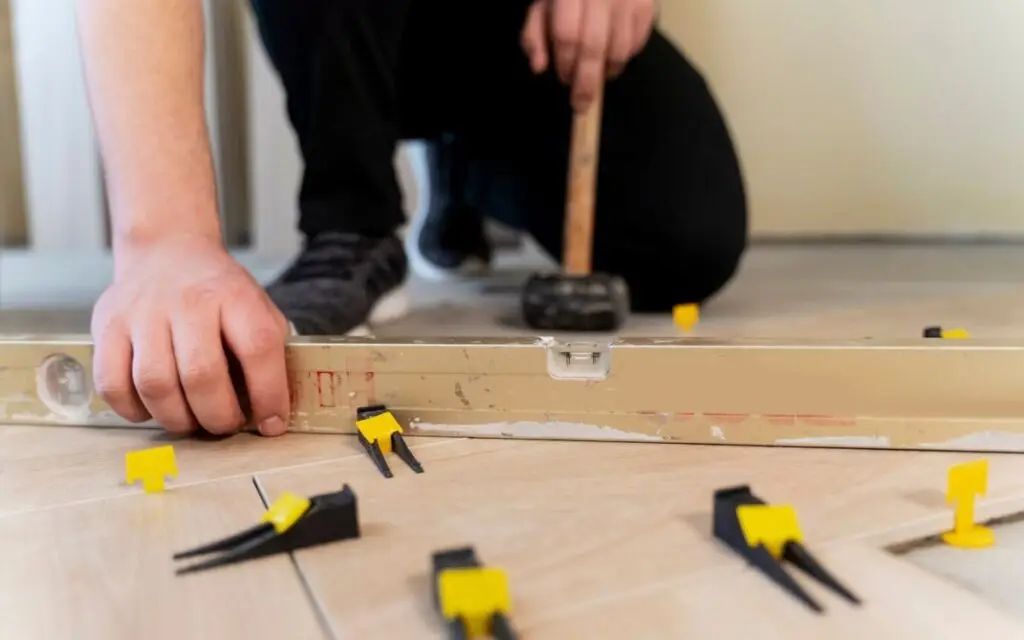
- Tools: Tile cutter, notched trowel, grout float, level, and spacers.
- Materials: Adhesive, grout, cleaning supplies, and new tiles.
Common DIY Mistakes to Avoid
- Skipping Surface Preparation: Failing to clean, scuff, or level the surface leads to adhesion issues.
- Using Inappropriate Adhesive: The wrong adhesive may not hold up over time.
- Ignoring Floor Height Impact: Raised floors can cause door or appliance misalignment.
Benefits of Hiring Professionals for Tile Installation
Why Expertise Matters
Professionals bring the skills and tools needed to achieve a flawless finish. They can identify potential challenges and address them efficiently.
Saving Time and Money
While DIY may seem cost-effective, mistakes can lead to costly repairs. Professionals ensure long-lasting results, saving you money in the long run.
DIY vs. Professional Tile Installation
Examples of DIY Failures and Risks
- Tiles that shift or pop due to improper adhesion.
- Uneven layouts causing aesthetic and functional issues.
How Professionals Ensure Long-Term Durability
Experts follow strict protocols for surface preparation, adhesive application, and finishing touches, guaranteeing a result that stands the test of time.
By considering these tips and the benefits of hiring professionals, you can ensure a successful tile installation project. Don’t leave your flooring to chance—contact a trusted tile installation expert today!
FAQs & Answers
No, tiling over cracked tiles is not recommended. Cracks indicate underlying structural issues that may compromise the durability of the new tile layer. Before proceeding, replace cracked tiles and inspect the subfloor for damage. Addressing these issues ensures a stable and long-lasting surface for your new installation.
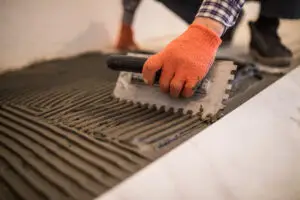
The best adhesive depends on the project specifics, but thinset mortar is often ideal due to its strong bonding properties and ability to fill minor surface imperfections. For high-moisture areas or heavy tiles, epoxy-based adhesive may provide better durability and resistance. Consult a professional to determine the best choice for your situation.
Yes, tiling over bathroom tiles is generally safe as long as the existing surface is properly prepared. Clean the tiles thoroughly to remove soap scum and grease, and ensure there are no loose or damaged tiles. Using waterproof adhesive and grout is crucial to prevent moisture-related issues and maintain the integrity of the installation.
To prevent shifting, apply adhesive evenly across the surface and use spacers to maintain consistent gaps between tiles. Press each tile firmly into place and check alignment with a level. For best results, allow sufficient curing time before grouting. A professional installer can ensure precision throughout this process.
The cost varies based on factors such as tile type, surface size, and labor rates. On average, professionals charge between $5 and $15 per square foot, including materials. While DIY might seem cost-effective, hiring experts guarantees a flawless finish, reducing the risk of costly mistakes or repairs later.


