
Why Removing an Old Carpet Matters Before Carpet Installation
Properly removing an old carpet is an essential step in preparing for new carpet installation. It ensures a clean and level surface, prevents hidden damage from affecting the new carpet, and allows you to address any issues with the subfloor. Skipping this step could lead to uneven surfaces, trapped odors, or premature wear of your new carpet.
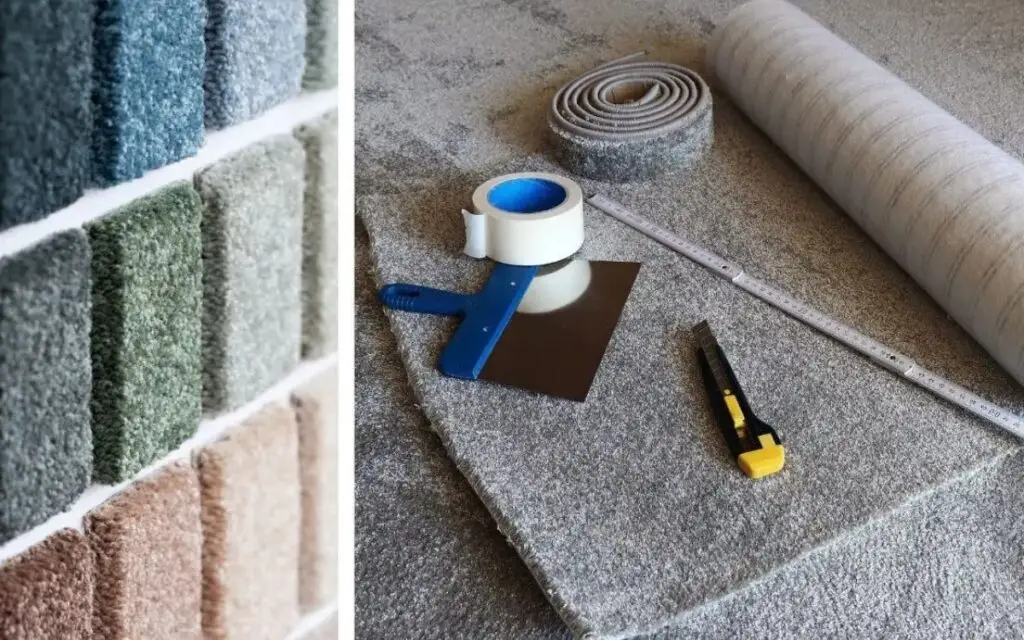
Tools You’ll Need for Carpet Removal
Before starting, gather these essential tools:
- Utility knife: For cutting the carpet into manageable pieces.
- Pliers or needle-nose pliers: To remove staples and grip carpet edges.
- Pry bar and hammer: For removing tack strips.
- Heavy-duty gloves: To protect your hands from sharp edges and debris.
- Dust mask and goggles: To guard against dust and allergens.
- Scraper: To remove stubborn glue or adhesive.
- Trash bags or tarp: For collecting and disposing of debris.
Step-by-Step Guide to Removing an Old Carpet
Step 1: Clear the Area
Remove all furniture and decorations from the room. Vacuum the carpet thoroughly to reduce dust and make the removal process cleaner and easier.
Step 2: Start at a Corner
Choose a corner of the room and use pliers to lift the edge of the carpet. If it’s hard to pull, use a utility knife to cut a small section to gain leverage.
Step 3: Roll and Remove the Carpet
Work methodically across the room, pulling the carpet up in sections. Use the utility knife to cut it into smaller pieces, which are easier to handle and dispose of. Roll each section tightly and secure with tape for transport.
Step 4: Remove Carpet Padding
Underneath the carpet, you’ll find padding that’s stapled or glued to the floor. Pull the padding up in sections and use pliers to remove any staples left behind.
Step 5: Deal with Tack Strips
Tack strips, the thin wooden strips holding the carpet edges in place, can be sharp. Use a pry bar and hammer to lift and remove them carefully. Dispose of them in a way that prevents injury from the exposed nails.
Step 6: Remove Residual Glue or Adhesive
If glue was used to secure the carpet or padding, scrape it off with a scraper. For stubborn adhesive, apply a glue remover solution, let it sit for a few minutes, and then scrape again.
Tips for Safe and Efficient Carpet Removal
- Cut the carpet into smaller sections: This makes removal and disposal much easier.
- Wear protective gear: Gloves and masks protect against debris and allergens.
- Handle tack strips carefully: Use gloves to avoid injuries from sharp nails.
- Dispose responsibly: Check local recycling options for old carpets and padding.
Preparing the Subfloor for New Carpet Installation
Inspect and Clean the Subfloor
After removing the carpet, inspect the subfloor for damage, such as cracks or moisture issues. Sweep and mop to remove all dust, dirt, and adhesive residues.
Repair and Level the Surface
Fill any cracks or holes with wood filler or patching compound. For uneven areas, use a sander to smooth the surface, ensuring it’s level for the new carpet installation.
DIY Carpet Removal vs Hiring Professionals
Benefits of DIY Carpet Removal
- Cost savings: Avoid labor fees by doing the work yourself.
- Control over the process: You can address subfloor issues directly.
- Learning experience: Gain skills for future home improvement projects.
When to Hire Professionals
- Large or complex spaces: Professionals handle big jobs more efficiently.
- Glue or adhesive removal: Experts have specialized tools to deal with tough residues.
- Limited time or physical ability: Save time and effort by outsourcing the task.
FAQs & Answers
You’ll need a utility knife, pliers, a pry bar, and gloves as basic tools. A scraper and adhesive remover may also be required for glue removal. Having these tools ensures a smooth and efficient process.
Use a scraper or apply a commercial adhesive remover to soften the glue. Let the solution sit for a few minutes before scraping. If the glue is thick, a rented floor buffer with a sanding attachment can also help.
It’s not recommended to reuse old carpet padding. Over time, padding deteriorates and loses its cushioning and support. New padding ensures better comfort and durability for your new carpet.
The process typically takes 2–4 hours for a standard-sized room, depending on your experience and the tools available. Tack strips and glue removal may add to the time.
Contact local recycling centers to see if they accept carpets. If recycling isn’t an option, roll the carpet tightly, secure it with tape, and dispose of it at a local landfill or as per municipal guidelines.
While removing carpet is straightforward, it can be physically demanding. Beginners should work in sections, use the proper tools, and follow safety precautions to avoid injuries or mistakes.


