
Introduction to Tiling Best Practices
Tiling is both an art and a science. By adhering to key best practices, you can achieve a professional-quality finish that enhances the durability and appearance of your tiled surfaces. Whether you’re tiling floors, walls, or backsplashes, following these golden rules ensures a flawless result.
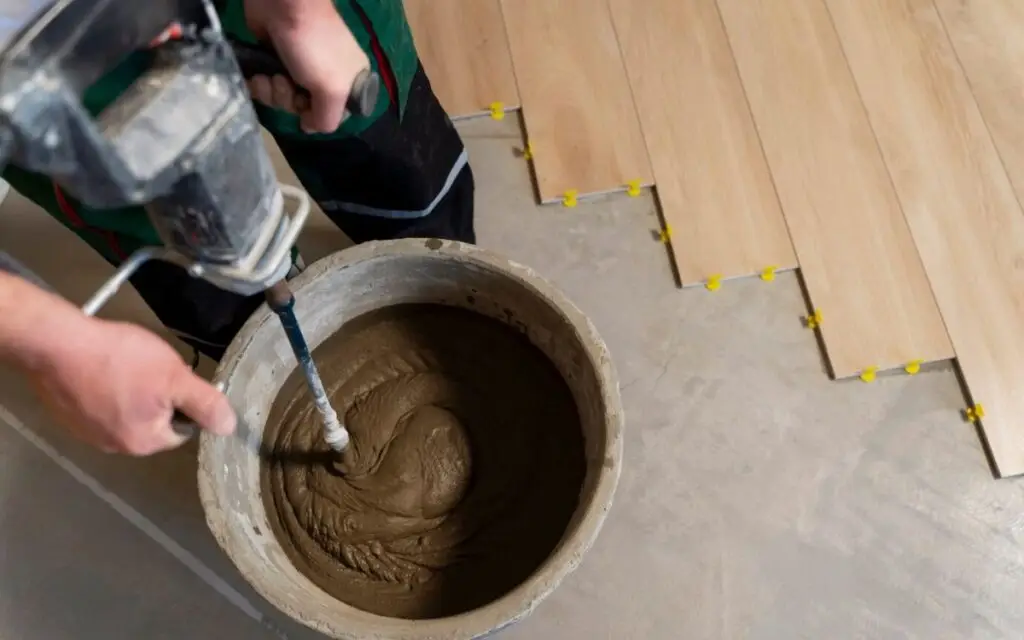
Rule #1: Proper Surface Preparation
Preparing the surface is the foundation of successful tiling.
Cleaning the Subfloor
- Remove dirt, grease, and old adhesives.
- Vacuum or sweep thoroughly to ensure no debris is left.
Leveling the Surface
- Use a leveling compound to fix uneven areas.
- Check the surface with a level to avoid tiles shifting or cracking.
Rule #2: Choosing the Right Adhesive
Selecting the correct adhesive ensures a strong bond between the tiles and the surface.
Types of Adhesive
- Thin-set mortar for ceramic or porcelain tiles.
- Pre-mixed mastic for lightweight wall tiles.
Application Tips
- Spread adhesive evenly using a notched trowel.
- Work in small sections to prevent it from drying too quickly.
Rule #3: Planning the Tile Layout
A thoughtful layout minimizes waste and ensures symmetry.
Dry-Laying Tiles
- Place tiles without adhesive to visualize the layout.
- Adjust starting points to avoid thin slivers at the edges.
Using Guidelines
- Snap chalk lines or use a laser level for accuracy.
- Focus on high-visibility areas for the best alignment.
Rule #4: Maintaining Consistent Spacing
Consistent spacing is crucial for aesthetic appeal and grout durability.
Using Tile Spacers
- Insert spacers between tiles to maintain even gaps.
- Choose the appropriate spacer size based on tile dimensions.
Checking Alignment
- Use a level to verify tiles are aligned horizontally and vertically.
- Make adjustments before the adhesive sets.
Rule #5: Accurate Tile Cutting
Cutting tiles precisely ensures a polished look around edges, corners, and obstacles.
Measuring and Marking
- Measure the space carefully and mark tiles with a pencil.
- Double-check dimensions to reduce errors.
Cutting Techniques
- Use a manual tile cutter for straight cuts.
- For curves or notches, a wet saw or tile nippers are ideal.
Rule #6: Grouting and Cleaning Tiles
Grouting not only fills gaps but also stabilizes the tiles.
Applying Grout
- Mix grout to a paste-like consistency.
- Use a grout float to press grout firmly into the joints.
Cleaning Excess Grout
- Wipe tiles with a damp sponge to remove residue.
- Avoid removing grout from the gaps during cleaning.
Rule #7: Sealing for Longevity
Sealing enhances the durability and appearance of your tiled surface.
Why Seal?
- Protects grout from moisture and stains.
- Extends the life of tiles, especially in wet areas.
Sealing Process
- Apply sealant with a brush or sponge.
- Allow it to dry fully before using the tiled area.
Common Tiling Mistakes to Avoid
Even experienced DIYers can fall into common pitfalls:
- Skipping surface preparation: Leads to uneven tiles and cracking.
- Inconsistent adhesive application: Causes weak tile bonds.
- Incorrect spacing: Results in uneven grout lines and alignment.
DIY vs Professional Tiling Services
While DIY tiling can be cost-effective, it carries risks that can lead to costly repairs.
Risks of DIY Tiling
- Misaligned layouts due to inexperience.
- Poor cuts around edges, affecting aesthetics.
Benefits of Professional Installation
- Access to specialized tools and techniques.
- Expertise in handling complex layouts and challenging surfaces.
Example: A homeowner’s DIY tiling job resulted in uneven tiles and cracked grout within months. Hiring a professional to redo the work ensured a long-lasting and visually perfect installation.
Avoid costly mistakes and achieve a flawless finish by hiring professional tiling services today!
FAQs & Answers
A smooth, clean surface prevents tile cracking and ensures longevity.
Use spacers consistently and double-check with a level.
A manual tile cutter for straight cuts; a wet saw for curves.
After grout has fully cured, typically 48-72 hours post-application.
DIY is possible, but professional tilers guarantee precision and durability.


